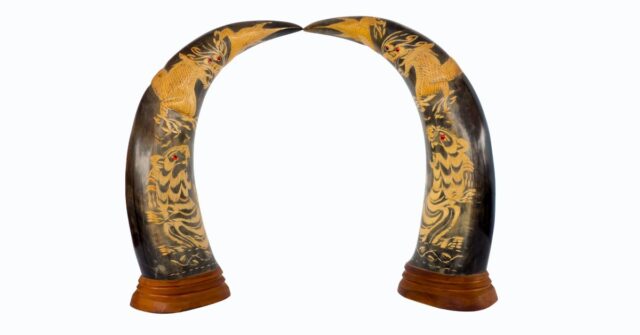
Welcome, enthusiasts and curious minds alike!
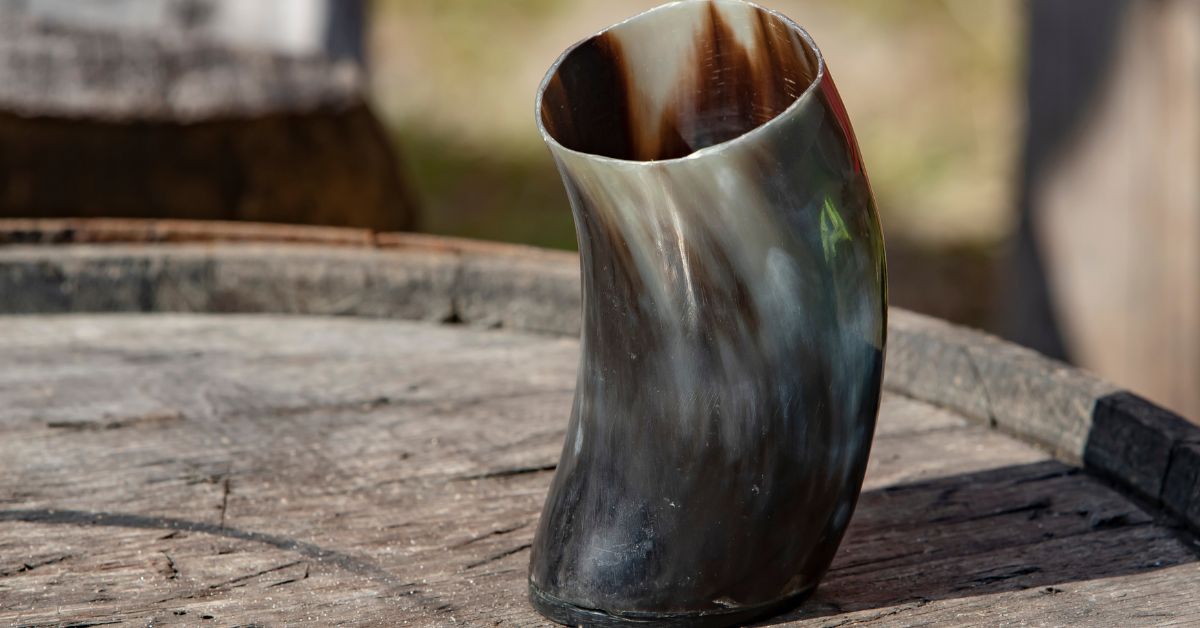
If you’ve ever marveled at the rugged elegance of a horn tankard, today’s your lucky day.
We’re diving deep into the craft of turning a simple horn into a majestic vessel for your favorite beverages.
Buckle up; it’s going to be an exciting ride!
Introduction to Horn Tankards
Horn tankards carry with them a slice of history, a dash of culture, and a whole lot of character. Dating back to Medieval times, they were not just drinking vessels but symbols of victory and honor.
Making one from scratch? That’s taking a leaf out of the pages of history and adding your own story to it.

History and Cultural Significance
These tankards weren’t always just for the average Joe. In many cultures, they were prized possessions of warriors and kings.
Fast forward to today, and they’re the perfect companions for a themed feast or a quiet night in. They remind us that some traditions never fade; they just get cooler with age.
Why Make Your Own Horn Tankard?
Ever heard the phrase, “If you want something done right, do it yourself”? That’s exactly why. Plus, the satisfaction of sipping from a tankard you crafted with your own hands is second to none.
It’s about creating something that speaks to you, not just something that holds your drink.
Understanding the Materials
Before we jump into the forge, let’s get our ducks in a row. The right horn and tools are half the battle. Whether you’re a seasoned craftsman or a beginner, knowing what you’re working with is crucial.
Types of Horns Suitable for Tankards
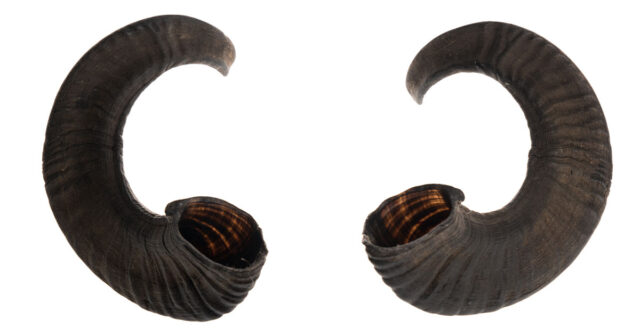
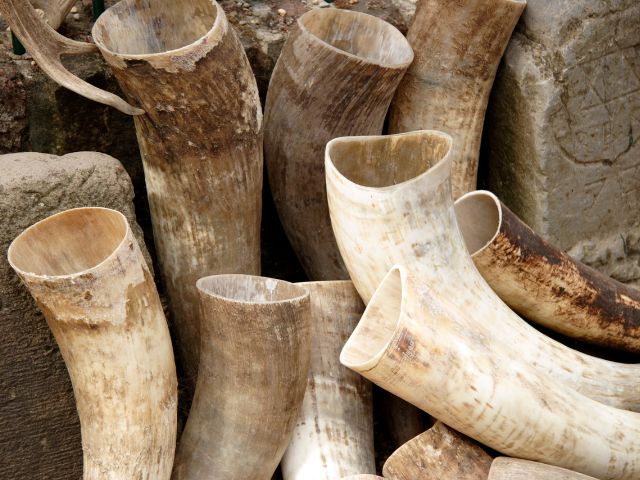
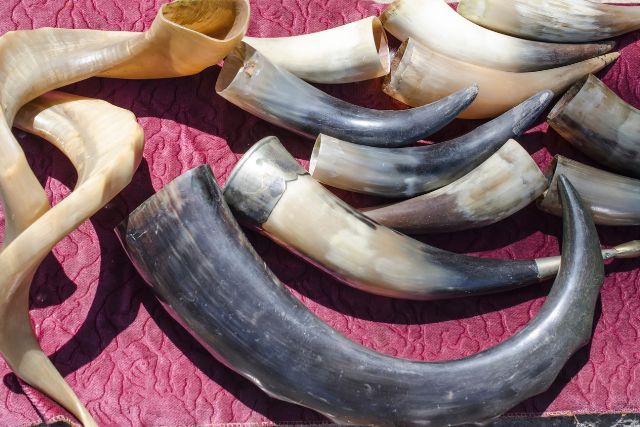
Not all horns are created equal. Cow or buffalo horns are the go-to choices for their size and durability.
Remember, you’re looking for a horn that speaks to you, one that’s large enough for a hearty drink but manageable enough to mold into your masterpiece.
Tools and Supplies Needed
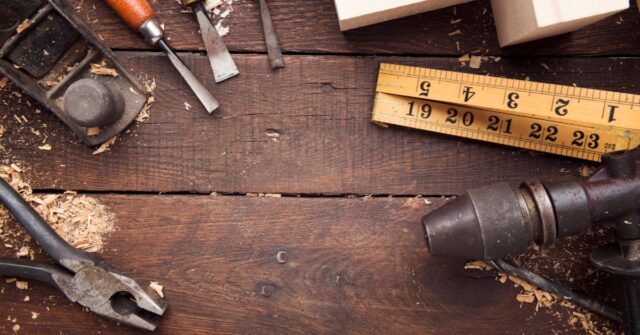
Gather your toolkit: a saw for the cutting, sandpaper for smoothing, a heat source for shaping, and food-safe sealant for finishing. Add to that a dose of patience and a sprinkle of creativity, and you’re all set.
Preparation Phase
Prepping the horn is like setting the stage for a grand performance. It’s about getting everything just right for the magic to happen.
Selecting the Right Horn
Choosing the horn is a bit like choosing a wand in the wizarding world; it needs to feel right. Look for a horn with a good curve and thickness.
It’ll make your crafting journey smoother and the end result more satisfying.
Cleaning and Sanitizing the Horn
First impressions matter, and so does cleanliness. Give your horn a good wash with soap and water. Then, a bath in diluted bleach will get rid of any lingering spirits of the past.
Just remember, it’s a tankard in the making, not a petri dish!
Planning Your Tankard Design
Dream big, but plan realistically. Sketch out your design, keeping in mind the natural curve and features of the horn. This is your blueprint, the guiding light on your path to tankard glory.
Creating the Tankard – Step by Step
With preparations out of the way, it’s time to roll up our sleeves. This is where the real fun begins.
Cutting the Horn to Size
Measure twice and cut once. Mark the horn where you’ll make your cuts, then gently, but firmly, saw through. Remember, it’s not a race. Take your time to avoid mistakes that can’t be undone.
Shaping the Horn
Depending on your design, you may not need to shape the horn too much but instead rely on the natural curvature of the horn itself.
However, you may want to bend the top part of the horn back on itself to create a handle.
In this case, heat is your friend here. Warm the horn carefully to make it pliable, then mold it gently into the shape of your dreams.
Horn shaping is like pottery but with more flare—and the risk of getting singed. So do take extra special care with this step.
Smoothing and Polishing
Start with coarser sandpaper and work your way up to the finer grits. It’s a workout for your arms and a spa day for the horn. By the end, it should be smooth enough to make a baby seal jealous.
Constructing the Base
Every great tankard needs a solid foundation. A piece of wood or another slice of horn works wonders.
Just ensure it fits like a glove; we wouldn’t want any precious brew escaping through the cracks, would we?
Attaching the Handle
A handle is not just a practical addition; it’s the signature of your tankard.
If you didn’t bend the horn to make a handle in the shaping step, craft one from wood or horn, and attach it with care.
This is where your tankard truly begins to take shape, transforming from an animal horn into a vessel of valor.
Sealing and Waterproofing
Functionality is key, so let’s make sure your brew stays where it should. Apply a food-safe sealant inside the tankard. It’s like casting a protective spell—no leaks, no sorrows, just a good time.
Customization and Decoration
Now, for the grand finale—making it your own. This is where your tankard gets its personality, its soul.
Engraving Techniques
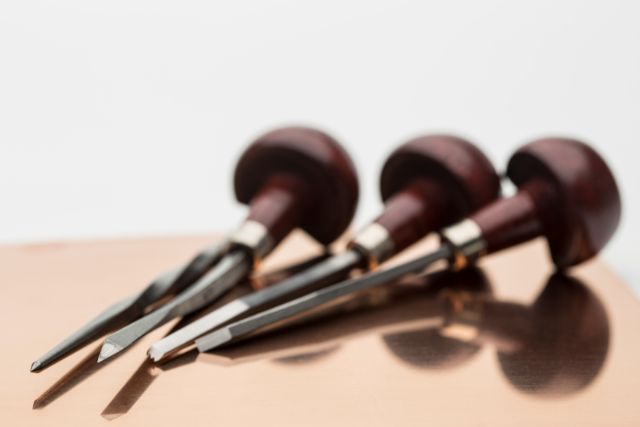
Whether you’re etching a pattern, a rune, or a crest, engraving adds that personal touch. It’s the story of your tankard, told in lines and shapes. Take it slow; this is delicate work that demands your focus.
Adding Metal Accents
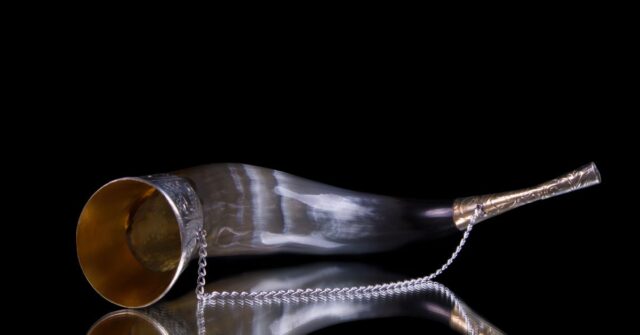
Metal rims or studs can transform your tankard from medieval to majestic. It’s like jewelry for your drinkware—a touch of shine, a dash of elegance.
Painting Your Tankard
Color brings your tankard to life. Use food-safe paints to adorn it with designs that tell your tale. Whether it’s bold and bright or subtle and sophisticated, let your creativity lead the way.
Finishing Touches
We’re almost at the end of our journey. A few final tweaks and your masterpiece will be complete.
Final Polishing
Give your tankard one last polish to make it shine like the first star of the night. This is where all your hard work pays off, in the glow of its finish.
Sealing the Inside
With a final coat of sealant on the inside, your tankard is ready to face any beverage you dare to pour. It’s not just a vessel; it’s a fortress, ready for the feast.
Caring for Your Horn Tankard
Your tankard is not just a drinkware; it’s a companion. Let’s ensure it stays by your side for many toasts to come.
Cleaning and Maintenance
Hand wash your tankard with gentle soap and warm water. No dishwashers here; we’re keeping it old school. Treat it with respect, and it will serve you loyally.
Storing Your Tankard Properly
When not in use, store your tankard in a cool, dry place. It’s a treasure, not something you toss in the back of a cupboard. Give it the throne it deserves.
Advanced Techniques and Tips
Feeling adventurous? Let’s add some flair to your craft.
Working with Different Horn Types
Each horn has its own character. Experiment with different types to find your perfect match. It’s like dating, but with less awkward small talk.
Solving Common Problems
Ran into a hiccup? Don’t fret. Whether it’s cracks, leaks, or a stubborn shape, there’s always a workaround. Sometimes, a mistake turns into a feature, adding to your tankard’s charm.
Conclusion
Congratulations! You’ve journeyed through the art of making a horn tankard. It’s a path less traveled, but oh, what a rewarding trek it has been.
Now, raise your tankard high. Whether it’s filled with ale, mead, or simply the satisfaction of creation, you’ve earned it. Here’s to your craftsmanship, your patience, and your new, trusty companion. Cheers!
Embarking on this venture has shown that with the right knowledge, tools, and a bit of humor, anyone can create something truly special.
Remember, the best tankard is the one that’s filled not just with drink, but with stories, laughter, and maybe a bit of magic.
So, what are you waiting for? The world of horn tankards awaits your unique touch. Happy crafting!
