Welcome to our comprehensive guide on crafting your own drinking horn!
Whether you’re a history enthusiast, a reenactor, or someone who appreciates unique drinking vessels, this guide will walk you through the process of creating a drinking horn from start to finish.
Let’s embark on this exciting journey together!
Introduction
Drinking horns have been a part of human culture for centuries, used by various civilizations across the globe. In this guide, we’ll delve into the art of making a drinking horn, combining historical techniques with modern safety and design considerations.
The History and Significance of Drinking Horns
Drinking horns date back to the Neolithic era and have been used by various cultures, including the Vikings and the Saxons.
They were not just functional but also symbolized status and were often richly decorated.
Who Should Consider Making a Drinking Horn?
This project is perfect for anyone interested in historical artifacts, DIY crafts, or unique kitchenware. No prior experience is required, just enthusiasm and a bit of patience!
Choosing the Right Horn
The first step in making a drinking horn is selecting the right horn. This choice is crucial as it affects the size, shape, and appearance of your final product.
Types of Horns Suitable for Drinking
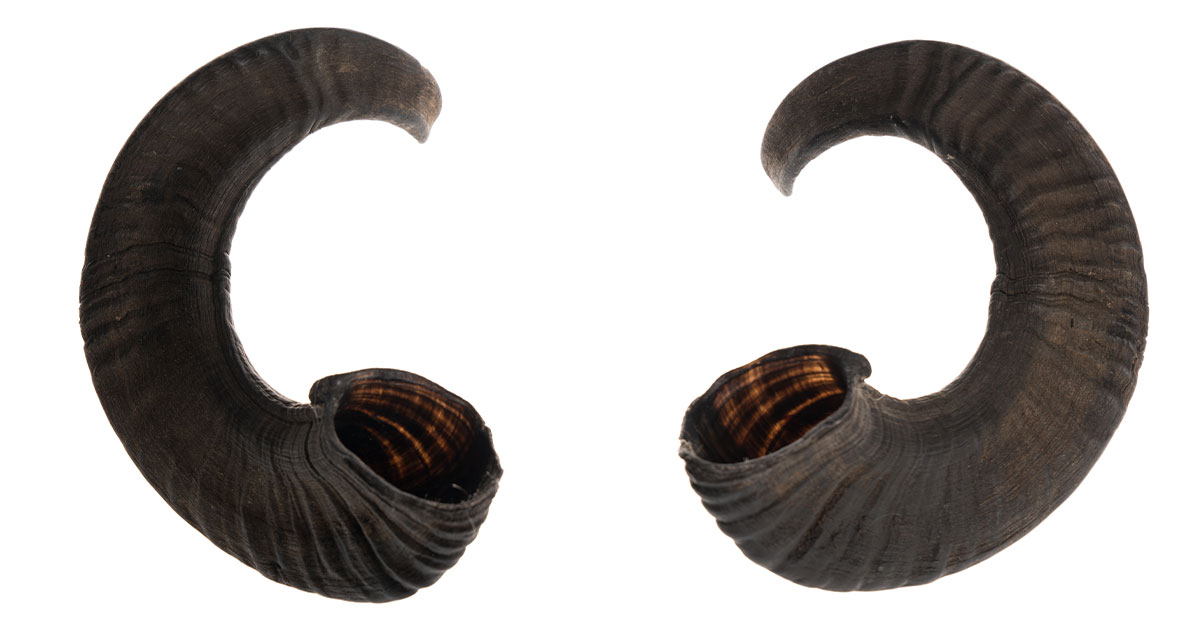
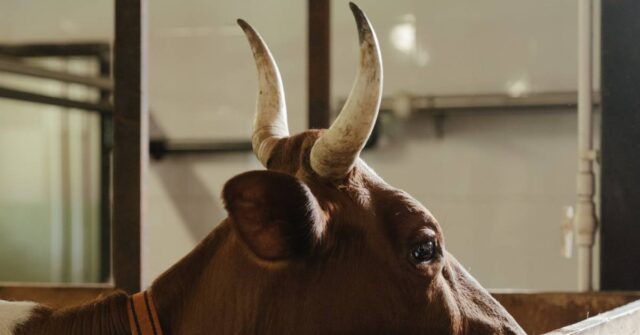
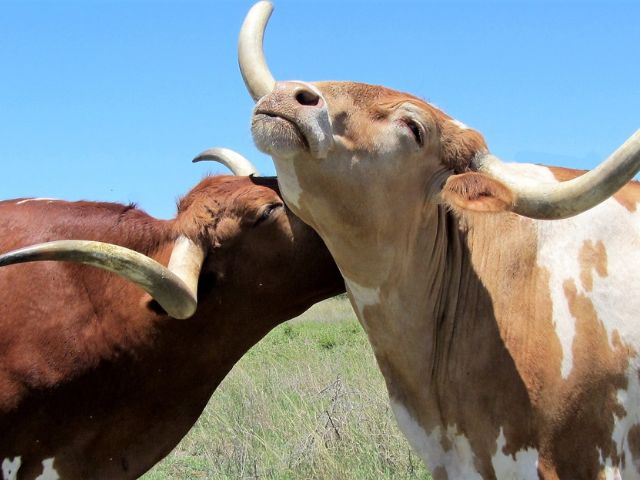
Common choices include cow, buffalo, or goat horns. Each has distinct characteristics; for example, cow horns are larger and have a more pronounced curve.
Where to Source Quality Horns
You can find raw horns at local farms, online marketplaces, or specialty craft stores. Ensure the horn is ethically sourced and from a reliable supplier.
Understanding Sizes and Shapes
Horns vary in size and shape. Consider the volume you want for your drinking horn and the ease of handling. Larger horns make a bold statement but can be heavier and harder to balance.
Tools and Materials Needed
Gathering the right tools and materials is essential for a smooth crafting process. Make sure you have everything before you start.
Essential Tools for Crafting a Drinking Horn
You’ll need a saw for cutting, sandpaper for smoothing, a heat source for shaping, and brushes for applying sealants.
Selecting the Right Sealing and Polishing Materials
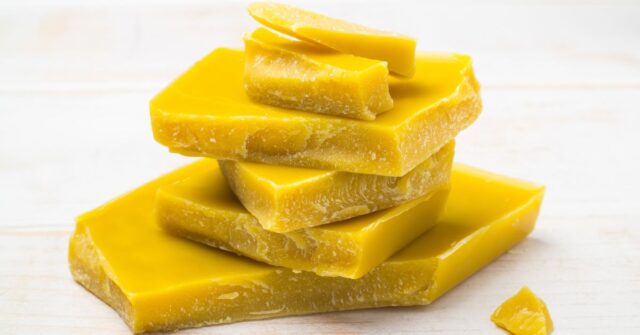
For sealing, food-safe epoxy or beeswax is recommended. For polishing, use a non-toxic, food-safe polish.
Safety Equipment and Best Practices
Always use safety goggles, gloves, and work in a well-ventilated area to avoid inhaling dust or fumes.
Cleaning and Preparing the Horn
Cleaning and preparing the horn is a critical step. This process will remove any debris and odor, making it safe and pleasant to use.
Step-by-Step Cleaning Process
Begin by soaking the horn in warm, soapy water. Use a brush to scrub the inside and outside thoroughly. Rinse well and let it dry.
Shaping and Smoothing Techniques
Use sandpaper to smooth the surface. For shaping, gently heat the horn and bend it to your desired shape. Allow it to cool and set.
Sealing the Interior
Sealing the interior is vital to make the horn safe for drinking. It prevents liquids from seeping into the horn material and also preserves the horn.
Choosing the Right Sealant for Safety and Durability
Select a food-safe sealant like beeswax or an epoxy resin. These materials are safe for contact with food and beverages.

8 Ounce Food Safe Epoxy Resin Kit
Create a rock solid seal for your drinking horn. Crystal clear, non-toxic, UV resistant, and easy to mix. Your horn will be able to handle hot liquids after sealing.
Detailed Application Process
Apply the sealant evenly inside the horn, ensuring complete coverage. Use a brush for epoxy resin and a heat source for melting and spreading beeswax.
Curing Time and Additional Coats
Allow adequate time for the sealant to cure, following the manufacturer’s instructions. Apply additional coats if necessary for a completely sealed interior.
Decorating Your Drinking Horn
Decorating your horn is where you can get creative and personalize your project. Traditional designs or modern motifs can both look stunning.
Traditional vs. Modern Design Ideas
For a traditional look, consider Norse or Celtic patterns. For a modern twist, think about etching or painting your own designs.
Engraving Techniques and Tips
Engraving can be done using a Dremel tool or by hand. Start with a simple design and practice on a scrap piece first.

Dremel 4300-5/40 Engraver, Sander, Polisher & More
Engrave your drinking horns with precision using the Dremel 45-Piece Kit. Lightweight, variable speed, and powerful motor ensure flawless, custom designs every time.
Adding Fittings and Stands
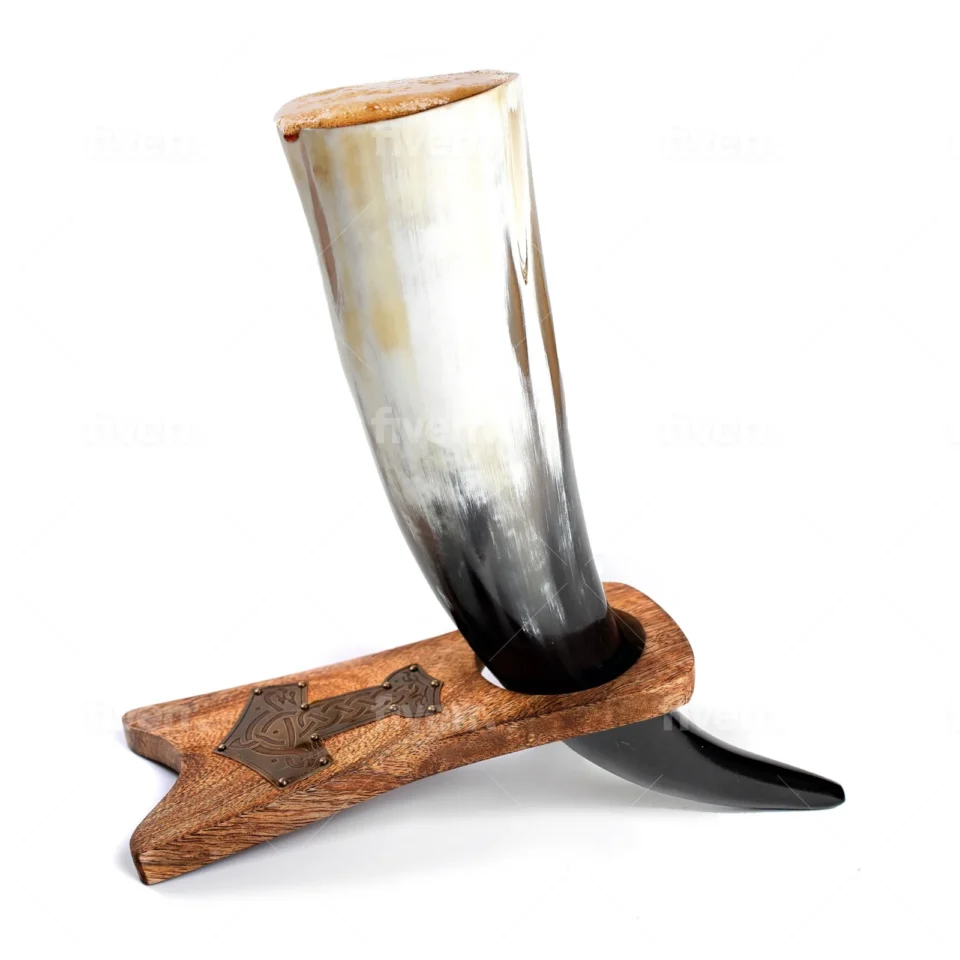
To make your horn more functional, add a stand or a leather strap for ease of handling and display.
Finishing Touches
The finishing touches will enhance the look and feel of your horn, making it a true piece of art.
Polishing and Preservation
Polish the outside with a soft cloth and non-toxic polish. This not only enhances its appearance but also helps in preserving the horn.
Customizing with Straps or Holders
A leather strap or metal holder can be added for practicality and style. This also makes it easier to carry or display your horn.
Caring for Your Drinking Horn
Proper care and maintenance will ensure your drinking horn lasts for years and stays in good condition.
Cleaning and Maintenance Tips
Always hand wash your horn with mild soap and water. Avoid dishwashers as the heat can damage the horn and sealant. Here are some more maintenance tips.
Storage and Handling Recommendations
Store your horn in a dry, cool place. Avoid leaving it in direct sunlight or in high humidity, as this can warp or damage the horn.
Conclusion
We hope this guide has inspired you to create your own drinking horn. With patience and creativity, you can craft a unique piece that celebrates both history and craftsmanship.
Share your creation with friends or at historical reenactments, and enjoy the satisfaction of having made it yourself!
Recap of the Making Process
In summary, the key steps in making a drinking horn are selecting and preparing the horn, sealing the interior, decorating, and applying finishing touches.
Each step is vital to the overall quality and functionality of the horn. Of course, if you prefer to avoid the hassle of DIY, check out our range of ready-to-use horns in various styles.
