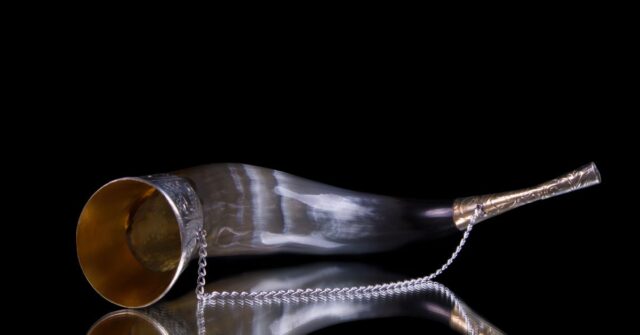
Customizing your drinking horn can turn a simple vessel into a personal artifact steeped in history and style.
Whether you’re a reenactor, a collector, or someone who appreciates medieval culture, this guide will walk you through the process of transforming your horn into a work of art.
Introduction to Drinking Horns
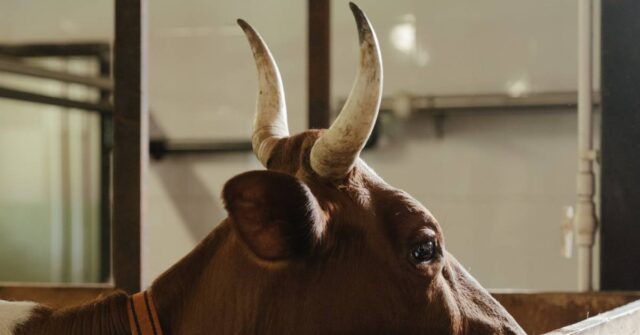
Drinking horns, traditionally made from bovine horns, have been used across many cultures for centuries.
Not only were they practical for drinking but they also held significant ceremonial purposes in societies such as the Vikings and Celts.
History and Cultural Significance
The use of drinking horns dates back to the classical era, seen in both Greek and Roman festivities. By the Medieval Period, they were emblematic of heroism and communal bonds, often used in toasts and oaths.
Types of Drinking Horns Available
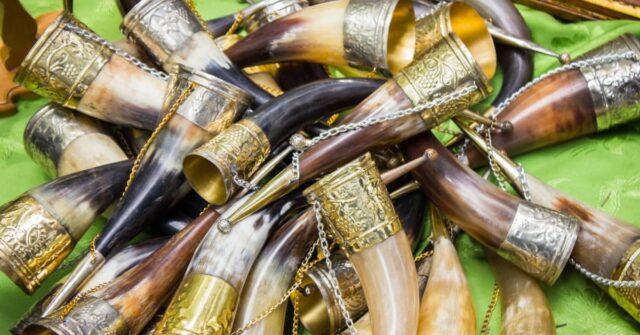
Modern drinking horns vary from historical replicas to contemporary adaptations, available in various sizes and shapes. Each type can be tailored to different customization techniques.
Essential Tools and Materials for Customizing Your Drinking Horn
Having the right tools and materials is crucial for successful customization. This ensures durability and enhances the aesthetic of the horn.
Choosing the Right Tools
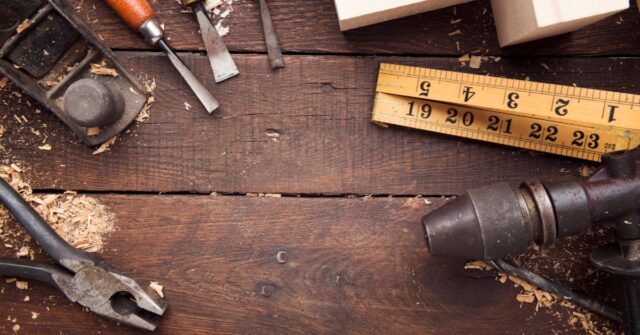
Basic tools include sandpaper, carving knives, and sealants, all chosen based on the complexity of your designs and the delicacy of the horn material.
Best Materials for Durability and Aesthetics
Opt for high-quality natural dyes for coloring, and consider metal accents or wooden bases for structural enhancements.
Preparation Before Customization
Proper preparation of the horn is essential to ensure a smooth customization process and to prevent damage.
Cleaning and Sanding Your Horn
Begin by thoroughly cleaning the horn with mild soap and warm water. Follow up with fine-grit sandpaper to smooth out imperfections and create a ready-to-customize surface.
Basic Safety Tips
Always work in a well-ventilated area and wear protective gear such as gloves and goggles, especially when handling sharp tools or chemicals.
Customization Ideas and Techniques
This section explores several creative avenues you might take to personalize your drinking horn.
Carving Designs into Your Horn
Carving is a traditional method that allows for intricate patterns and symbols. Sketch your design lightly before carefully carving with specialized tools.
Adding Color with Dyes and Paints
Water-resistant paints and natural dyes can add vibrant colors or subtle shades, dramatically changing the horn’s appearance.
Etching and Engraving Methods
For a less invasive approach, etching provides fine details without cutting deeply into the horn’s surface. Engraving tools can create delicate lines and detailed imagery.
Embedding Metal, Stone, or Wood Accents
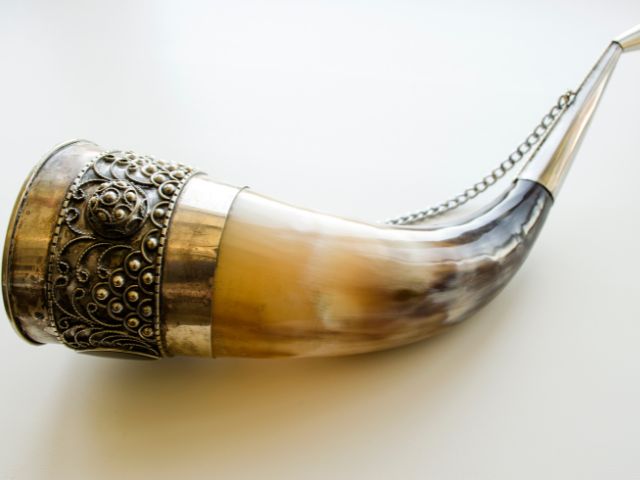
Embedding materials like metal, stone, or wood can add luxury and durability. Techniques vary from inlaying small stones to attaching metal rims.
Detailed Tutorials for First-Timers
If you are new to customizing drinking horns, these detailed tutorials will guide you through two fundamental techniques: simple carving and leather wrapping.
Each tutorial is designed to be beginner-friendly, providing you with step-by-step instructions and tips to help you start your customization journey confidently.
Step-by-Step Guide to Simple Carving
Carving your drinking horn can add a personal touch and historical authenticity. Here’s how to begin:
- Gather Your Tools: You will need a sharp carving knife, fine-grit sandpaper, a pencil, and a pattern or design idea.
- Prepare the Surface: Sand the area you plan to carve lightly. This smooths the horn and enhances the adherence of your design lines.
- Sketch Your Design: Using a pencil, lightly draw your design directly onto the horn. Choose simple shapes or symbols for your first project to keep it manageable.
- Begin Carving: Carefully use the carving knife to trace over your pencil lines, cutting into the horn to a shallow depth. Keep your strokes even and your hands steady.
- Refine Your Design: Once the basic shape is carved, go back and deepen any lines if necessary or smooth out rough edges with your sandpaper.
- Seal the Carving: Apply a food-safe sealant to protect both the carved design and the surface of the horn.
This simple carving tutorial will help you familiarize yourself with the basic tools and techniques used in horn customization. Take your time, and remember that practice is key to developing your skills.
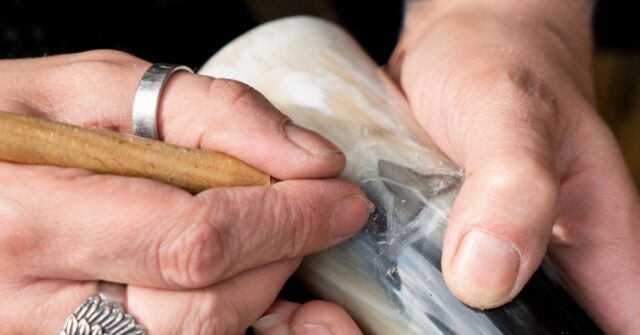
Tutorial on Applying Leather Wraps
Adding a leather wrap not only enhances the appearance of your drinking horn but also provides a better grip. Follow these steps to apply a leather wrap:
- Materials Needed: Leather strip, scissors, leather glue, and a measuring tape.
- Measure and Cut: Measure the circumference of your horn where you want the leather to wrap. Cut your leather strip to the measured length and a width of about 2-3 inches, depending on your preference.
- Prepare the Leather: If the leather is stiff, you might want to soften it by rubbing it with a leather conditioner.
- Apply Glue: Apply a thin layer of leather glue along the edge of one side of the leather strip. Carefully wrap the leather around the horn, starting at the edge, and press firmly as you go.
- Finish the Wrap: Once wrapped, apply glue to the end of the strip and secure it in place. Allow the glue to dry completely according to the manufacturer’s instructions.
- Additional Decorations: If desired, add decorative stitches along the edges of the leather wrap or emboss the leather beforehand with designs or initials.
This leather wrapping tutorial provides a practical yet stylish way to customize your drinking horn. With each project, you’ll gain more confidence and skill in your crafting abilities.
Advanced Decorative Techniques
For those ready to elevate their horn, these advanced techniques will add a touch of sophistication.
Using Gold or Silver Leaf for a Luxurious Finish
Applying gold leaf involves a delicate process of adhering thin sheets of metal to the horn, giving it a regal sheen that catches the eye.
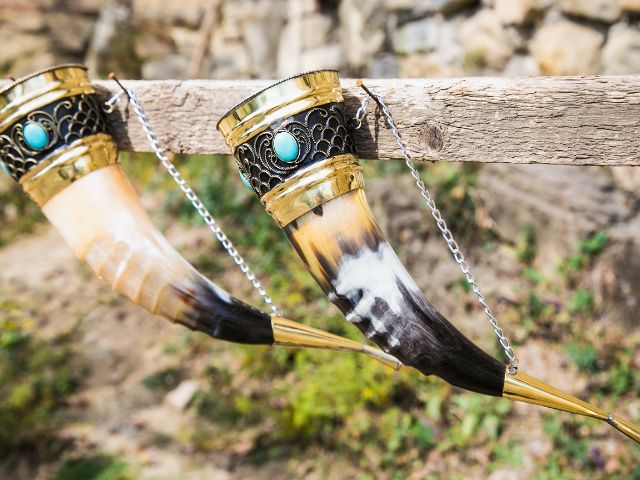
Attaching Handles or Stands
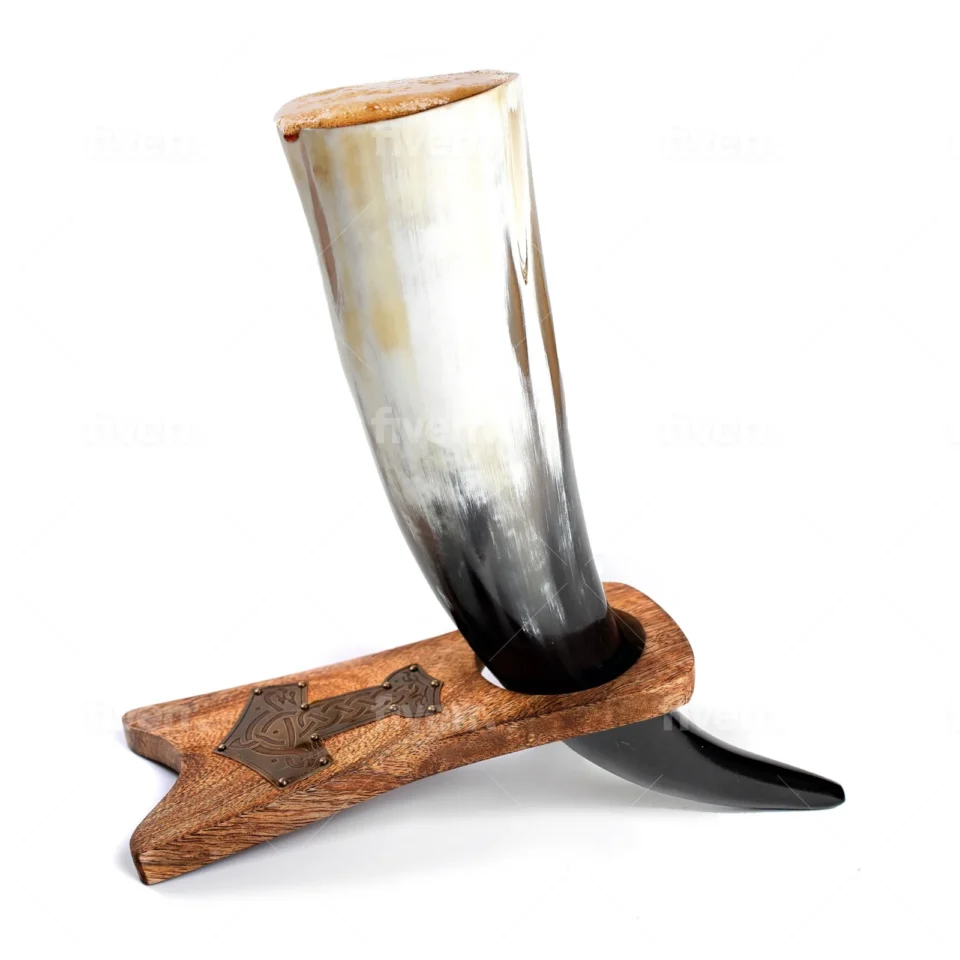
Adding a handle or making a stand can make your horn more practical and display-worthy. Take your time to integrate these elements securely and stylishly.
Maintenance and Care for Your Customized Horn
Once your horn is customized, proper care will ensure it lasts for years to come.
Cleaning and Storing Your Drinking Horn
Clean your horn after each use and store it in a dry place. Avoid extreme temperatures to prevent warping or cracking.
Long-Term Care Tips to Preserve Customization
Regular maintenance involves checking for any signs of wear and making minor repairs as needed to maintain the horn’s condition.

Conclusion
We hope this guide inspires you to start your project and adds a personalized touch to your medieval collection.
Customizing your drinking horn not only revives ancient craftsmanship but also gives you a unique piece connected to history.
